


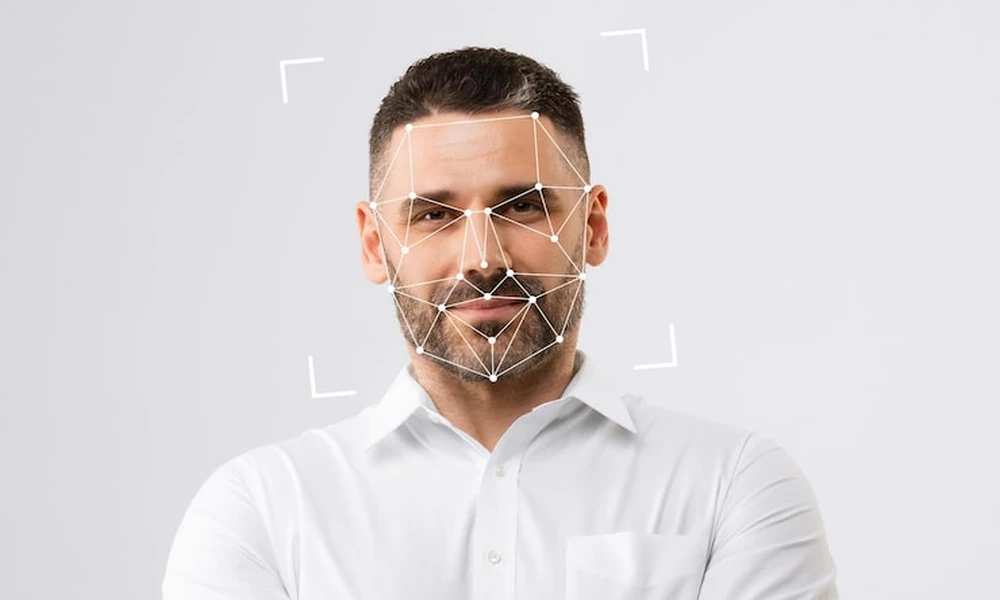
You already know what reverse image search does. What you want is a practical way to use it for people, cut through noise, and make solid calls based on what you find. I have spent years teaching teams how to verify images and profiles. My advice here focuses on methods that work with faces, steps that cut errors, and ways to stay responsible while you search.
I suggest you start with a people‑focused reverse image search that is built for faces, not just scenes or products. I also explain how to strengthen your results with general image engines, how to judge match quality, and how to document what you learn. By the end, you will know how to approach a photo with a clear plan, use the right tools, and avoid common mistakes.
Start With the Right Photo
A strong starting image gives you better matches and fewer false leads.
- Choose a clear, front-facing photo with both eyes visible
- Avoid heavy filters, big sunglasses, or masks
- Include the head and shoulders when possible
- Crop out large backgrounds or logos that distract the search
- Keep the original file name if it includes useful hints, then save a working copy for edits
If you only have a group shot, crop to the face you care about and save a copy. If the photo is very small, try to find a larger version. Larger images often return better matches.
Use a Face-Centric Tool First
General image engines do well with objects and scenes. People photos require face-aware matching and better filtering. That is where Surfface stands out.
They prioritize faces rather than the whole picture, and they allow you to upload up to five photos for a single search. You can include a name or username and choose a standard search or a deeper search that looks across more sources. They focus on U.S. data and can combine public profiles, social sources, reverse image matches, open web pages, and selected public records. That focus makes them a strong option when you want context around a person, not just duplicate photos.
How I suggest you use Surfface:
1. Prepare 2 to 5 clear photos that show the same person at different angles or lighting.
2. Upload them together to improve the chance of a solid match.
3. Optionally enter a name, handle, or likely location if you have it.
4. Run a standard search first. Review what comes back, then consider a deeper search if you need wider coverage.
5. Use filters for similarity, estimated age range, or gender when you need to tighten results.
6. Open promising results and compare faces carefully. Save links, screenshots, timestamps, and bios for follow-up.
They also offer lookalike discovery and can surface potential U.S. mugshot and registered offender results when available. Treat those leads with care. Use them to guide further checks, not to reach snap judgments.
Broaden With General Image Engines
After a people-first pass, cast a wider net with standard image search.
- Upload the same photo to a major image engine
- Try slight crops that center the face
- Test a black-and-white version or a lightly sharpened version
- Search any profile photos you find during your review as new starting images
- Include obvious name variants, common nicknames, and different spellings in text searches alongside image searches
If you see repeated photos linked to different names, flag that pattern. It may suggest photo reuse or impersonation.
Add Context to Validate Matches
You do not confirm identity with a single photo. You confirm it with consistent signals.
- Compare ear shape, hairline, eyebrows, smile lines, and eye spacing
- Look for the same person at different ages and settings
- Check usernames, bios, and follower lists for recurring details
- Review timestamps to see the earliest known appearance
- Match clothing or backgrounds to places or events you can verify
If two profiles share the same face but list different names and life details, note that conflict. It may signal a fake account that copied someone else’s images.
Advanced Tactics That Often Help
Use light, targeted edits to surface more matches.
- Tight crop on the face, then search
- Slight rotate to straighten a tilted face
- Convert to grayscale and search again
- Capture stills from a video if that is your only source
- Reverse search frames from a story or reel when allowed
- Try a search on the mirrored version if the original was flipped
Keep edits moderate. Heavy edits can warp features and reduce match quality.
Judge Match Quality Before You Act
Slow down and check the fit across several cues.
- Does the face match under different lighting and angles
- Do age and style changes make sense across the years
- Are there signs of AI generation, like plastic skin, warped text, or irregular backgrounds
- Does the match appear on multiple independent sources, not just repost sites
- Do bio details hold up across platforms
Treat every result as a lead that needs confirmation. This reduces false positives and poor decisions.
Use Surfface When It Really Matters
Choose Surfface when you need results centered on people, not generic images. They shine in these cases:
- Verifying a dating or marketplace profile before you meet
- Checking if a face appears under different names across public profiles
- Finding older photos and public mentions connected to a person’s face
- Looking for possible mugshot or public-record references tied to a face
- Searching registered offender records by face using public U.S. data
They design their system for responsible use and public information. They are not a consumer reporting agency. Do not use results for employment, housing, insurance, or credit decisions. Use official channels for anything that requires formal screening.
Stay Ethical and Respectful
I care about good research habits. You should too.
- Do not harass, threaten, or stalk anyone
- Do not publish private details from unverified results
- Get consent when sharing personal findings in sensitive settings
- Treat public-record references with caution and context
- Confirm important claims with official sources when needed
Good judgment protects you and others.
Save Your Trail and Follow Up
Create a simple record of what you find.
- Save source URLs, screenshots, and dates
- Keep track of which edits or crops produced useful results
- Note which usernames show up across sites
- If you uncover misuse, report it to the platform with links and timestamps
- If safety is a concern, collect evidence first, then contact the right authority
Clear notes help you act with confidence.
Quick Checklist
- Start with a clear, front-facing photo
- Run a face-centric search first, then expand
- Use multiple images of the same person
- Try light crops and small edits
- Validate with consistent signals across sources
- Document links, screenshots, and dates
- Use results responsibly
If you follow these steps, you will spend less time guessing and more time confirming. The right process and the right tool make the difference.
